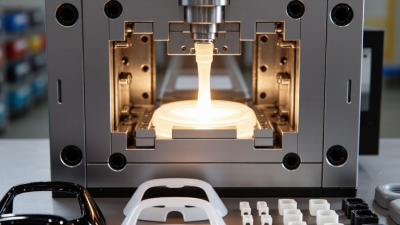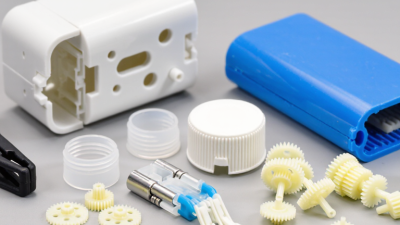






Buying molded plastic parts is not simply a search for the lowest quotation. The plastic injection moulding process influences dimensional accuracy, surface quality, cycle time, material performance, and long-term reliability. A polished sample can still hide unstable filling, excessive internal stress, or weak process controls. Look closer.
John Bozzelli, an injection molding educator and founder of Scientific Molding, is widely associated with this practical warning: “The machine does not make good parts; the process does.” His point matters to buyers. A capable supplier should explain how mold design, resin drying, melt temperature, injection speed, packing pressure, cooling, and inspection work together. Ask for measurable evidence, not confident promises. Useful evidence includes material certificates, process windows, first-article reports, capability data, and photographs of the production floor.
This guide presents ten practical tips for evaluating suppliers and reducing avoidable purchasing risks. It focuses on details that often disappear during price negotiations, such as gate location, warpage near ribs, flash along the parting line, and color variation between batches. Some recommendations may need adjustment. Resin grades differ. Mold geometry changes everything. Even experienced teams can misjudge cooling performance before production begins. That uncertainty deserves honest discussion, not vague reassurance. A reliable buyer keeps asking uncomfortable questions: What happens when humidity rises? How is a rejected part identified? Who approves a process change? The answers reveal whether a quotation represents controlled manufacturing or merely a promising sample.
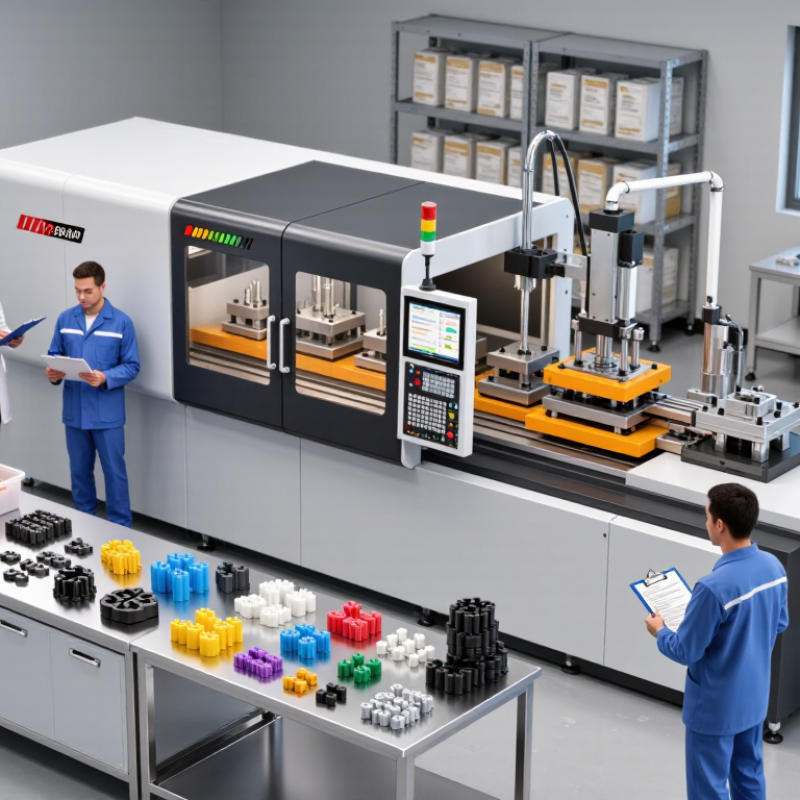
A reliable moulding project starts with measurable product requirements, not a rough drawing. Specify dimensions, wall thickness, surface finish, colour, operating temperature, load, and expected service life. ISO 20457 provides a useful framework for moulded-part tolerances, but general tolerances may not suit sealing or snap-fit areas. Mark critical dimensions clearly. Do not make every dimension “critical.” That mistake increases tooling cost and inspection time.
Set performance goals before requesting mould quotations. Include cycle time, acceptable reject rate, flash limits, warpage, and dimensional capability. A practical target might include a 30-second cycle, less than 2% visible rejects, and defined measurement points. Confirm these targets with trial data, not assumptions.
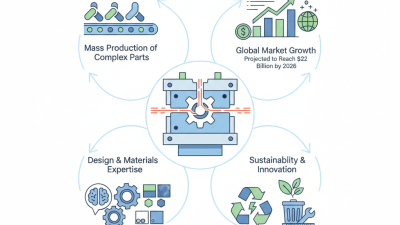
Global plastics production reached about 400 million tonnes in 2022, according to the Plastics Europe market report. Material selection therefore deserves careful attention, especially when recycled content, heat resistance, or food-contact requirements matter. The OECD’s Global Plastics Outlook reported that only 9% of plastic waste was recycled in 2019. Designing thinner walls or using recyclable material can support sustainability, but it may also reduce filling stability. That trade-off needs testing.
Ask the moulding supplier to document resin grade, drying conditions, injection pressure, cooling time, and inspection equipment. A first trial may expose weak requirements. That is normal. Revise the specification when evidence proves it necessary.
10 Best Plastic Injection Moulding Process Tips for Buyers
Evaluate Plastic Materials, Part Design, and Production Volume
Material selection should begin with the product’s real environment. Polypropylene suits lightweight, chemical-resistant parts, while ABS supports tougher housings and better surface appearance. Polycarbonate handles impact, but it may require careful drying before moulding. The wrong resin can create warping, brittleness, or costly rework. PlasticsEurope reported global plastics production at 400.3 million tonnes in 2022, showing the scale of material decisions across manufacturing.
Part design often determines quality before the mould is built. Keep wall thickness as uniform as possible. Add draft angles for easier ejection. Use rounded corners instead of sharp internal edges. Ribs should support strength without becoming heavy sections that cause sink marks. Small details matter. A 0.2-millimetre mismatch can affect fit, texture, or assembly. Design reviews should include mould-flow analysis, although simulation cannot replace practical trials.
Production volume changes the acceptable tooling strategy. Low-volume projects may justify aluminium tooling, while high-volume parts usually need hardened steel and automated inspection. Ask for cycle-time estimates, expected scrap rates, and maintenance assumptions. OECD data shows only 9% of plastic waste was recycled globally in 2019, so material efficiency deserves attention. A recycled resin may reduce impact, but its colour and performance can vary. No option is perfect. Buyers sometimes overfocus on unit price and underestimate mould maintenance, rejected parts, and future design changes.
Evaluate Plastic Materials, Part Design, and Production Volume
Typical linear mold shrinkage varies by material, grade, fiber content, wall thickness, gate location, mold temperature, and packing pressure. Use these ranges during material selection and part-design reviews, then confirm the final value with the resin supplier and mold trial data. Lower-shrinkage materials generally make dimensional control easier, while higher-shrinkage materials require more careful tooling compensation.
10 Best Plastic Injection Moulding Process Tips for Buyers
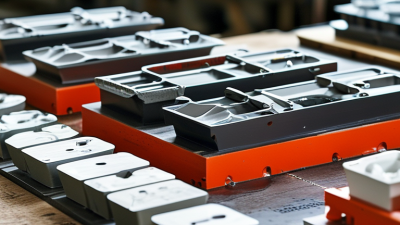
A mould’s structure affects cost, cycle time, maintenance, and part consistency. Compare two-plate and three-plate designs against your runner layout and production volume. A simple two-plate mould may reduce maintenance, while a three-plate structure can support more flexible gate placement. Check cavity balance, cooling channels, vent locations, and ejection access. Poor cooling often creates warpage, even when the cavity surface looks excellent.
Tip: Ask for a mould layout, steel specifications, machining tolerances, and trial-shot records. Inspect parting lines and polished surfaces closely. Small burrs can become repeated defects. Tooling quality is more than shiny steel. It includes stable inserts, accurate alignment, replaceable wear parts, and clear maintenance access. I have seen buyers focus on cavity count and overlook venting. That decision can increase burn marks and reject rates. No checklist is perfect.
Machine compatibility must be confirmed before purchase. Compare the mould’s required clamp force, shot volume, mould height, tie-bar spacing, nozzle radius, and ejector stroke with the intended machine. Also check cooling connections and controller requirements. A mould may produce acceptable samples but fail during continuous production if the machine cannot maintain pressure or temperature stability. Leave practical adjustment space. The theoretical fit is not always the working fit. Record these limits in the quotation and approval documents.
When buying injection moulded parts, verify the supplier’s real production capabilities. Ask about machine tonnage, shot size, mould capacity, and material experience. A supplier may list impressive equipment, but available machines can differ by factory or shift. Request recent production examples with similar part size, resin, wall thickness, and tolerance requirements. Check whether the supplier performs mould flow analysis and process trials before production.
Small details matter.
Quality controls should be visible, documented, and repeatable. Ask for inspection plans covering dimensions, weight, appearance, flash, sink marks, and warpage. Review calibration records for measurement tools. Confirm how operators record temperature, pressure, cooling time, and cycle changes.
Good records help.
Do not judge capability from photographs alone. Request samples from normal production conditions, not only hand-polished prototypes. Inspect the gate location, weld lines, texture, ejector marks, and colour consistency. Measure critical dimensions with suitable equipment. Compare several pieces, because one perfect sample proves very little.
I have learned that first impressions can be too generous.
A supplier may correct one visible defect while missing a repeated dimensional shift. Ask for sample quantities, inspection data, and a clear explanation of any failed result. Their response often reveals more than the sample itself.
Choosing a plastic injection moulding partner requires more than comparing unit prices. Ask what each quotation includes: mould steel, machining, sampling, revisions, packaging, and freight. A low initial price may hide important exclusions. I once reviewed a quote that omitted cooling-line testing, and the later correction delayed production by nearly two weeks.
Lead time should be measured in practical milestones, not one attractive delivery date. Request dates for design approval, mould completion, trial shots, inspection, and final release. Confirm the expected cycle time with actual sample parts. A mould running at 18 seconds may look efficient, but unstable cooling can create warping, rejected parts, and costly pauses. Build a small schedule buffer. Real projects rarely remain perfect.
Maintenance planning protects both quality and cash flow. Ask how often the mould needs cleaning, lubrication, vent inspection, and dimensional checks. Confirm whether replacement inserts and standard components are readily available. Keep a maintenance record with photographs, shot counts, and defect notes. Small marks around an ejector pin can reveal a larger alignment problem.
Long-term support deserves equal attention. Your supplier should provide clear mould drawings, material certificates, inspection reports, and troubleshooting guidance. Check whether technical assistance remains available after production begins. Ask how urgent repairs are handled and who pays for corrective work. A reliable partner explains limitations openly, rather than promising unlimited support. That honesty is useful. It may also reveal weaknesses before your mould enters full production.
| No. | Buyer Tip | What to Assess | Typical Cost Impact | Typical Lead-Time Impact | Maintenance / Support Check | Recommended Buyer Action |
|---|---|---|---|---|---|---|
| 1 | Confirm part design for moulding | Check wall thickness, draft angles, ribs, bosses, undercuts, shut-offs, and cosmetic surfaces before requesting a quotation. | Good design changes can reduce mould complexity and total tooling cost by approximately 10–30%. | Design corrections made before tooling may save 1–3 weeks of rework. | Ask for a documented design-for-manufacture review and mould-flow recommendations where appropriate. | Request a written design review before approving the mould. |
| 2 | Select the resin based on performance | Compare strength, impact resistance, temperature range, chemical exposure, shrinkage, appearance, compliance, and recycled-content requirements. | Commodity resins generally cost less than engineering or high-temperature grades; material choice can change part cost by 20–100% or more. | Specialty materials may require drying, slower processing, or additional validation, adding several days to qualification. | Verify drying conditions, approved material grades, lot traceability, and availability of replacement resin. | Approve a material specification rather than relying only on a generic resin name. |
| 3 | Compare mould construction options | Evaluate cavity count, steel grade, cooling layout, inserts, hot runner or cold runner design, expected shot life, and replacement-part availability. | Basic single-cavity tooling may cost several thousand dollars, while complex multi-cavity tools can cost tens or hundreds of thousands of dollars. | Simple moulds may take about 4–8 weeks; complex multi-cavity or hot-runner moulds commonly require 8–16 weeks. | Confirm preventive-maintenance intervals, spare inserts, standard components, and the mould ownership terms. | Compare quotations using the same cavity count, steel specification, and expected service life. |
| 4 | Calculate total cost, not only piece price | Include tooling, resin, machine time, labour, scrap, packaging, inspection, freight, storage, qualification, and future engineering changes. | Tooling is often the largest upfront cost; a lower piece price may be offset by higher mould, scrap, or logistics costs. | A complete cost model can reveal hidden approval, sampling, and transport stages that add 1–4 weeks. | Request assumptions for cycle time, uptime, scrap rate, annual volume, and maintenance downtime. | Use a five-year total-cost-of-ownership comparison for competing quotations. |
| 5 | Validate the quoted cycle time | Review fill, pack, cooling, mould-open, ejection, and handling times; cooling is often the largest part of the cycle. | A 1-second reduction in a high-volume cycle can materially lower unit cost, but aggressive settings may increase defects or tool wear. | Stable cycle validation usually takes 1–3 production trials, depending on part complexity. | Ask for recorded cycle-time data, process windows, cooling-channel inspection, and machine-capacity evidence. | Require cycle time to be demonstrated using production-intent tooling and material. |
| 6 | Set realistic sampling and approval gates | Define first-trial samples, dimensional reports, material certificates, appearance standards, capability targets, and acceptance criteria. | Each additional mould trial can create costs for machine time, transport, inspection, tool changes, and engineering support. | Initial samples commonly require 1–2 weeks after tooling completion; corrective trials may add 1–3 weeks each. | Ensure trial records, defect photographs, corrective actions, and revision history are retained. | Agree on a sample-approval checklist before the first trial. |
| 7 | Review quality-control capability | Assess measurement equipment, calibration, inspection frequency, process controls, traceability, and statistical capability for critical dimensions. | Better inspection and documentation may increase short-term costs but reduce sorting, returns, and production interruptions. | Measurement-system approval and capability studies can add several days to the launch schedule. | Confirm calibration records, nonconformance procedures, retained samples, and lot-level traceability. | Identify critical-to-function and critical-to-appearance characteristics in the purchase specification. |
| 8 | Plan preventive mould maintenance | Check cleaning, lubrication, vent inspection, cooling-line descaling, ejector inspection, corrosion protection, and wear monitoring. | Routine maintenance is usually far less expensive than emergency repair, unplanned downtime, or premature mould replacement. | Basic cleaning may be required every production run; deeper service is commonly scheduled by shot count or production condition. | Require a maintenance manual, lubrication chart, shot-count log, spare-parts list, and service responsibility matrix. | Budget maintenance from the first production year rather than treating it as an optional expense. |
| 9 | Verify production capacity and continuity | Review machine clamping force, shot capacity, automation, staffing, planned utilization, backup equipment, and capacity during peak demand. | Insufficient capacity can cause overtime, expedited freight, subcontracting, or tooling duplication. | Capacity constraints may extend replenishment lead times from days to several weeks during busy periods. | Ask about contingency plans for machine failure, power interruption, labour shortages, resin delays, and mould damage. | Request a capacity plan covering forecast volume, peak volume, and recovery time after disruption. |
| 10 | Secure long-term technical support | Clarify response times, engineering-change procedures, warranty coverage, spare-part availability, mould storage, data ownership, and end-of-life support. | A clear support agreement reduces the risk of expensive redesigns, repeated trials, and extended downtime. | Defined escalation routes can shorten corrective-action response from weeks to a few working days. | Include service-level targets, named contacts, spare-part lead times, technical records, and ownership of the mould and CAD files. | Add measurable after-sales obligations to the contract and review them annually. |